I have been
enjoying all of my classes but printmaking is securing a special place in my
heart. With each new technique I learn I find myself getting more excited at
the idea of continued exploration in this medium. Here are a few examples of
two new techniques I started to learn in the last two weeks.
The first technique
I learned was collagraph. In collagraph the plate is inked filling the low
parts of the plate. The surface is then whipped clean to either leave only the
color of the paper or it can be inked any other color and rubbed off to create
subtle tones. The paper is soaked to loosen the fibers and make it more pliable
and then it is placed on top of the plate. As it is run through the press the mats pres the malleable paper into the low parts of the plate absorbing
the ink and embossing the paper. The ink is oil based so that paper can be
resoaked to allow for the layering of techniques. My first collagraph was
simply to start to gain an understanding of how the plate held ink so we were
given random text to work with. We cut through the first layer of a thick
cardboard material almost like a softer MDF. Photo 1 is the exploration of
techniques. The center of the Q is glued sand to create texture. The bottom red
area is ripped a layer deep except for the lettering and the rip line absorbs ink in an interesting way.
There are scratches with my etching tool just above the red area. I don’t
particularly like this print but it was incredibly helpful in understanding the
technique.
Photo 2 was my
first attempt at creating a plate. This is a print of my friend Maggie from a
photo I took at the Tongoriro Crossing. All of the red and black was carved out
and peeled away to create depth and therefore hold ink. The blue was lightly
ripped away in an attempt to create a more ethereal cloud look. The light yellow tones
were added and whipped almost clean just to add accents.
Photo 3 was my
second attempt and is a print of my friend Miranda here all the dark tones were
simply cut away and then inked with different colors. Collagrphs hold a lot of
ink so to get the desired range sometimes I would have to do a ton of ghost
prints and lightly reapply the surface colors. This was my 3rd ghost
print and you can see how dark it still is.
The next technique
I learned was drypoint. Photos 4 and 5 are examples of my first attempt at
drypoint. For this technique you scratch tiny lines in a metal or plastic plate
and then go through the same inking and printing process as Collagraph. These
don’t hold nearly as much ink and are usually only good for one print before
needing to be re inked. The tiger below was scratched into a piece of plastic. The darker lines are deeper scratches. I then inked the plate and
whipped the surface almost clean. I went around with a q-tip and cleaned certain
areas entirely to create white highlights, like below the eyes, soaked
the paper and printed it.

Photo 1 - Collagraph Test

Photo 2 - Collagraph of Maggie

Photo 3 - Collagraph of Miranda
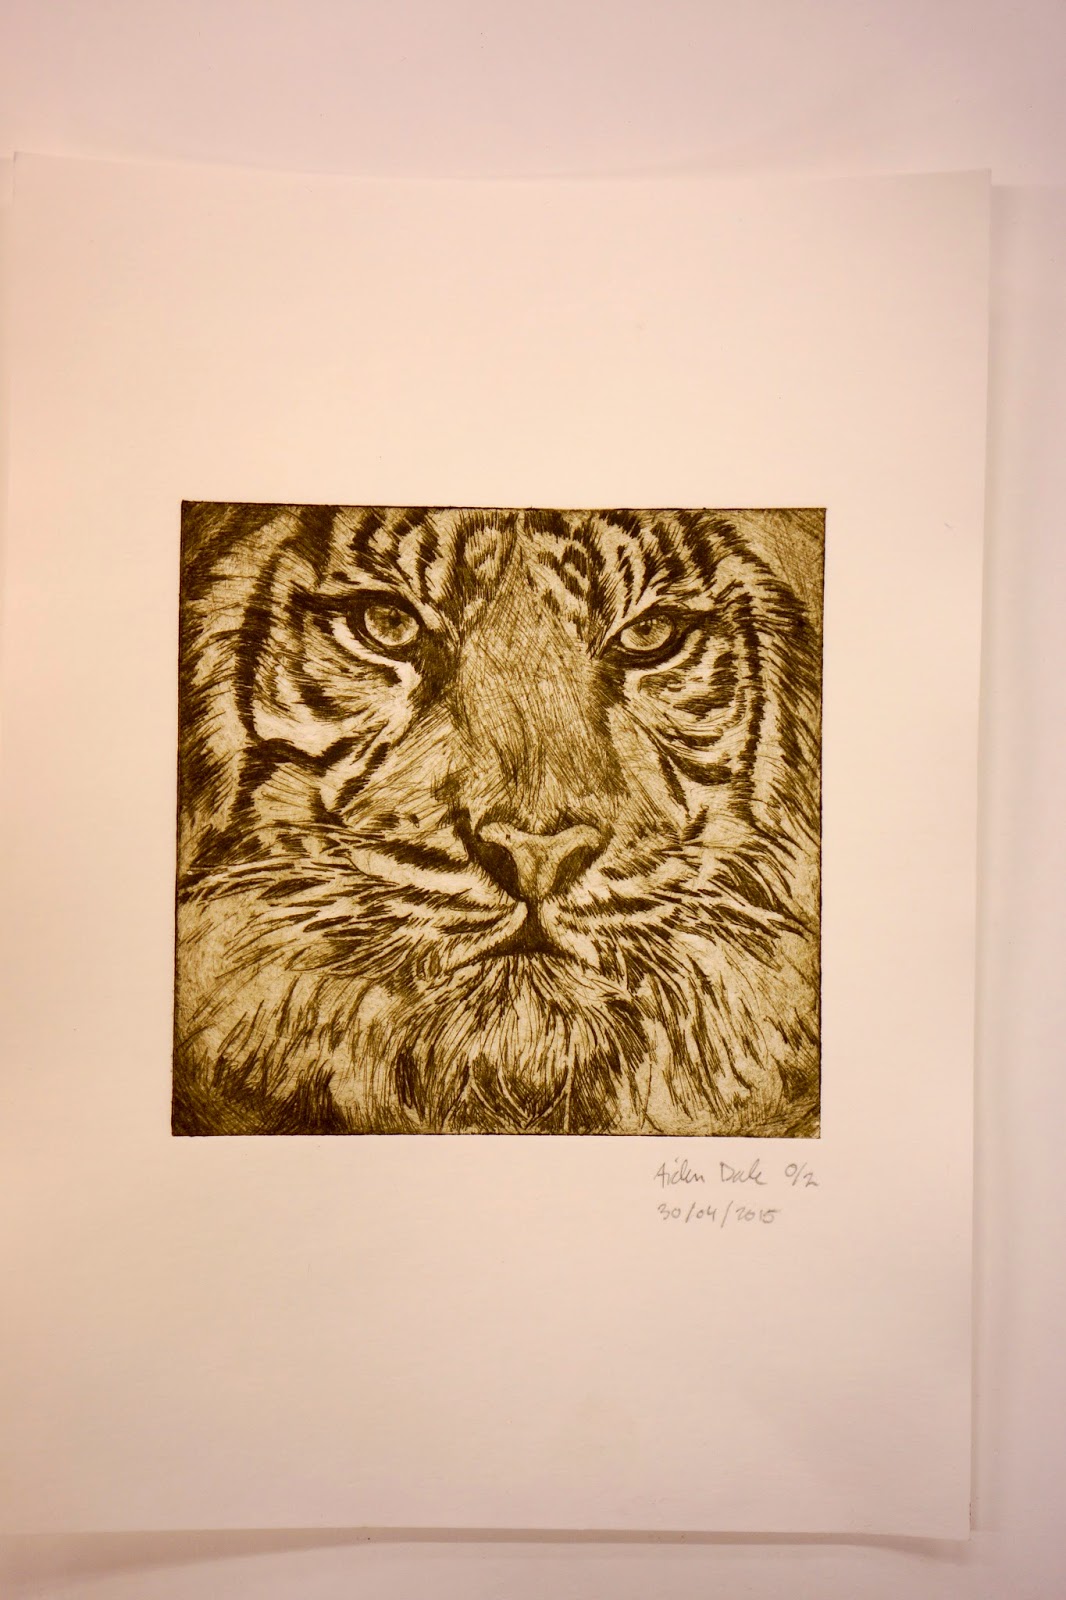
Photo 4 - Drypoint Tiger

Photo 5 - Drypoint Tiger 2nd Inking With Added Colors
No comments:
Post a Comment